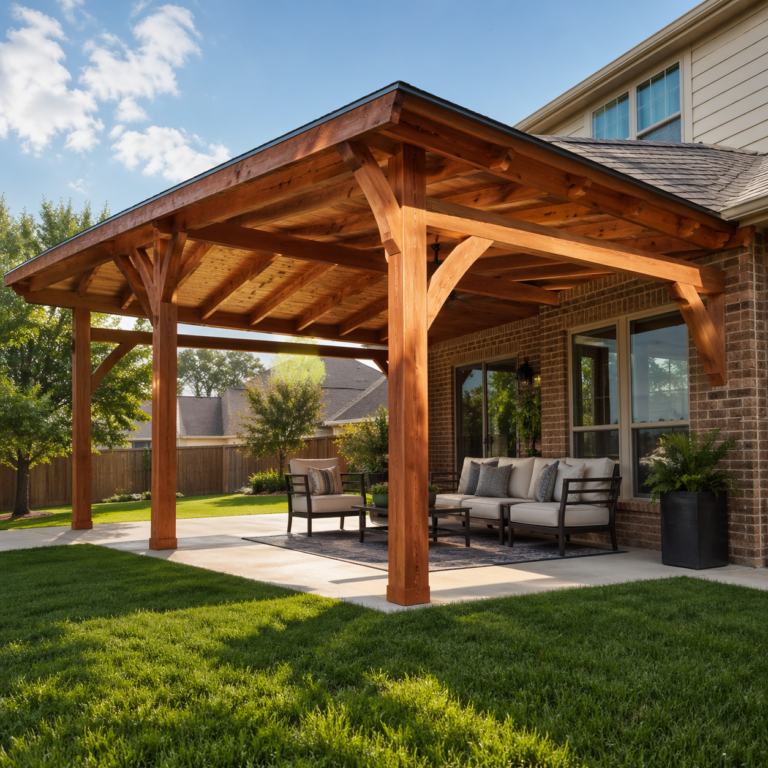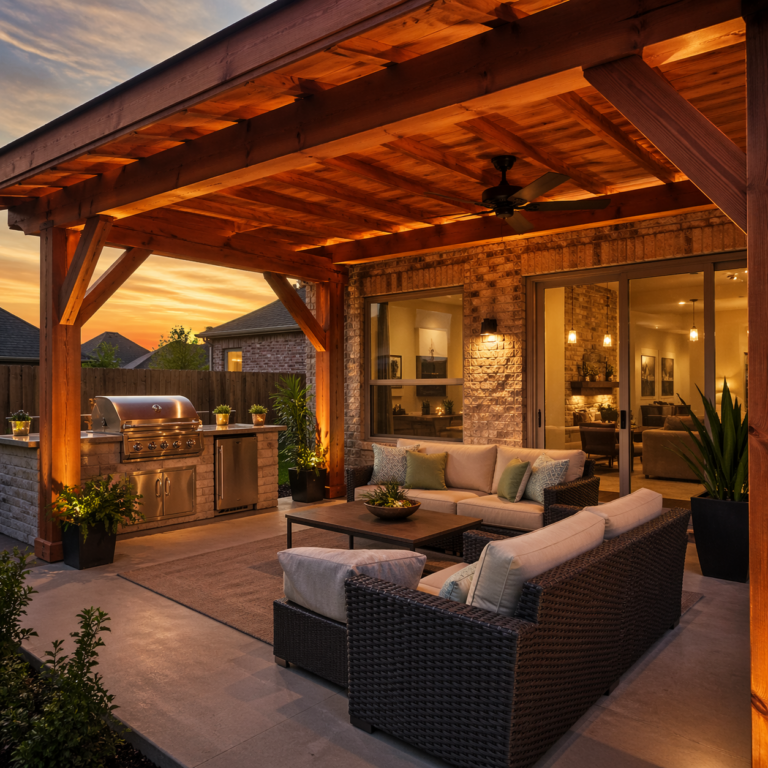


Cedar Patio Cover Repair and Replacement
Restore safety, stop leaks, and bring back curb appeal with professional inspection, targeted repairs, or full patio cover replacement from Corinth Patio Covers.
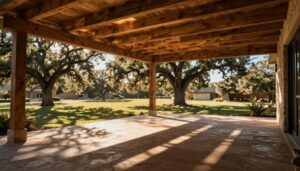
Cedar is a favorite for patio covers across North Texas because it’s strong, naturally attractive, and more resistant to insects than many other woods. But “resistant” doesn’t mean “immune.” Over time, sun, wind-driven rain, roof run-off, and small construction details (like how the cover ties into the house) can lead to soft spots, leaks, and structural movement. The good news: many problems can be addressed with targeted cedar patio cover repair—if you catch them early and fix the cause, not just the symptom.
In this guide, we’ll walk through the most common issues homeowners see (rot, leaks, weather damage), how professionals inspect a cover, when rotten cedar beam repair is appropriate versus full replacement, and the maintenance habits that help cedar last for decades. If you want more background on cedar structures in the area, see Cedar Patio Covers Corinth TX: What Homeowners Should Know.
Key takeaway
Most “cedar patio cover problems” boil down to two forces: moisture where wood shouldn’t stay wet and movement where the structure shouldn’t flex. Great repairs solve both—and protect the new work so it doesn’t fail again.
Common Cedar Patio Cover Problems (and Why They Happen)
Cedar performs well outdoors, but it still expands and contracts with moisture cycling and gets stressed under Texas sun and storms. When water repeatedly enters the same areas—or when hardware loosens and joints start moving—small issues escalate quickly.
1) Rot and soft spots from chronic moisture
Cedar resists insects better than many woods, but constant moisture exposure from roof run-off, clogged gutters, or poor flashing can still cause soft spots and rot. Rot typically starts where water lingers the longest:
- At post bases where wood contacts wet concrete or soil
- At beam ends where water is trapped against the house or fascia
- At ledger connections where flashing is missing or failing
- Around fasteners and penetrations where water wicks into end grain
2) Checking, splitting, and cracks that signal more than “normal”
Hairline cracks, splitting, and checking are normal in cedar. But deep cracks around fasteners or joints can indicate structural movement that needs structural patio cover repair. A practical rule: if a crack is widening, repeating at multiple connections, or paired with sagging, it’s time for an inspection.
3) Leaks that travel and stain far from the entry point
Patio cover leak repair is often needed when the tie-in to the house fails, fasteners loosen, or sealants age, allowing water to travel into beams and posts. Water can run along rafters or inside joints, so the visible stain is often not where water is getting in.
4) Weather damage: wind, hail, and UV
High winds, hail, and intense sun can warp members, loosen connections, and degrade finishes, leading to weather-damaged patio cover repair needs. UV breaks down stain and sealants; once the surface protection fails, the wood absorbs moisture faster and dries unevenly—accelerating cracking and fiber erosion.
5) Deferred maintenance that compounds everything
Deferred patio cover maintenance accelerates damage because UV breakdown and moisture cycling remove protection from stain and sealants. Think of finish as your “roof” for the wood itself: when it wears away, the wood takes the hit.
Homeowner mindset shift: A patio cover doesn’t usually “suddenly rot.” It slowly gets wetter, moves more, and dries less—until one season pushes it past the tipping point.
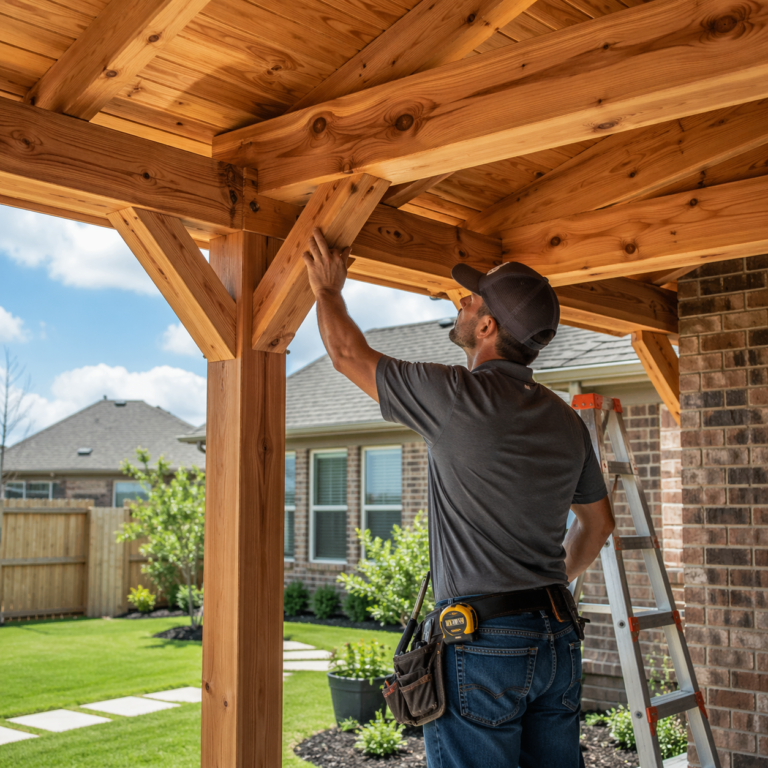
Patio Cover Inspection and Repair: What Pros Look For
A professional inspection is part structural check, part detective work. The goal isn’t only to identify damaged wood—it’s to understand why it failed and what will prevent repeat issues.
Structural geometry: straight, level, and properly supported
A proper inspection checks beam deflection, post plumb, rafter spacing, and connection hardware to confirm the cover is safe and code-appropriate. Pros look for sagging (often subtle), uneven roof planes, and signs that loads are being carried in ways the design didn’t intend.
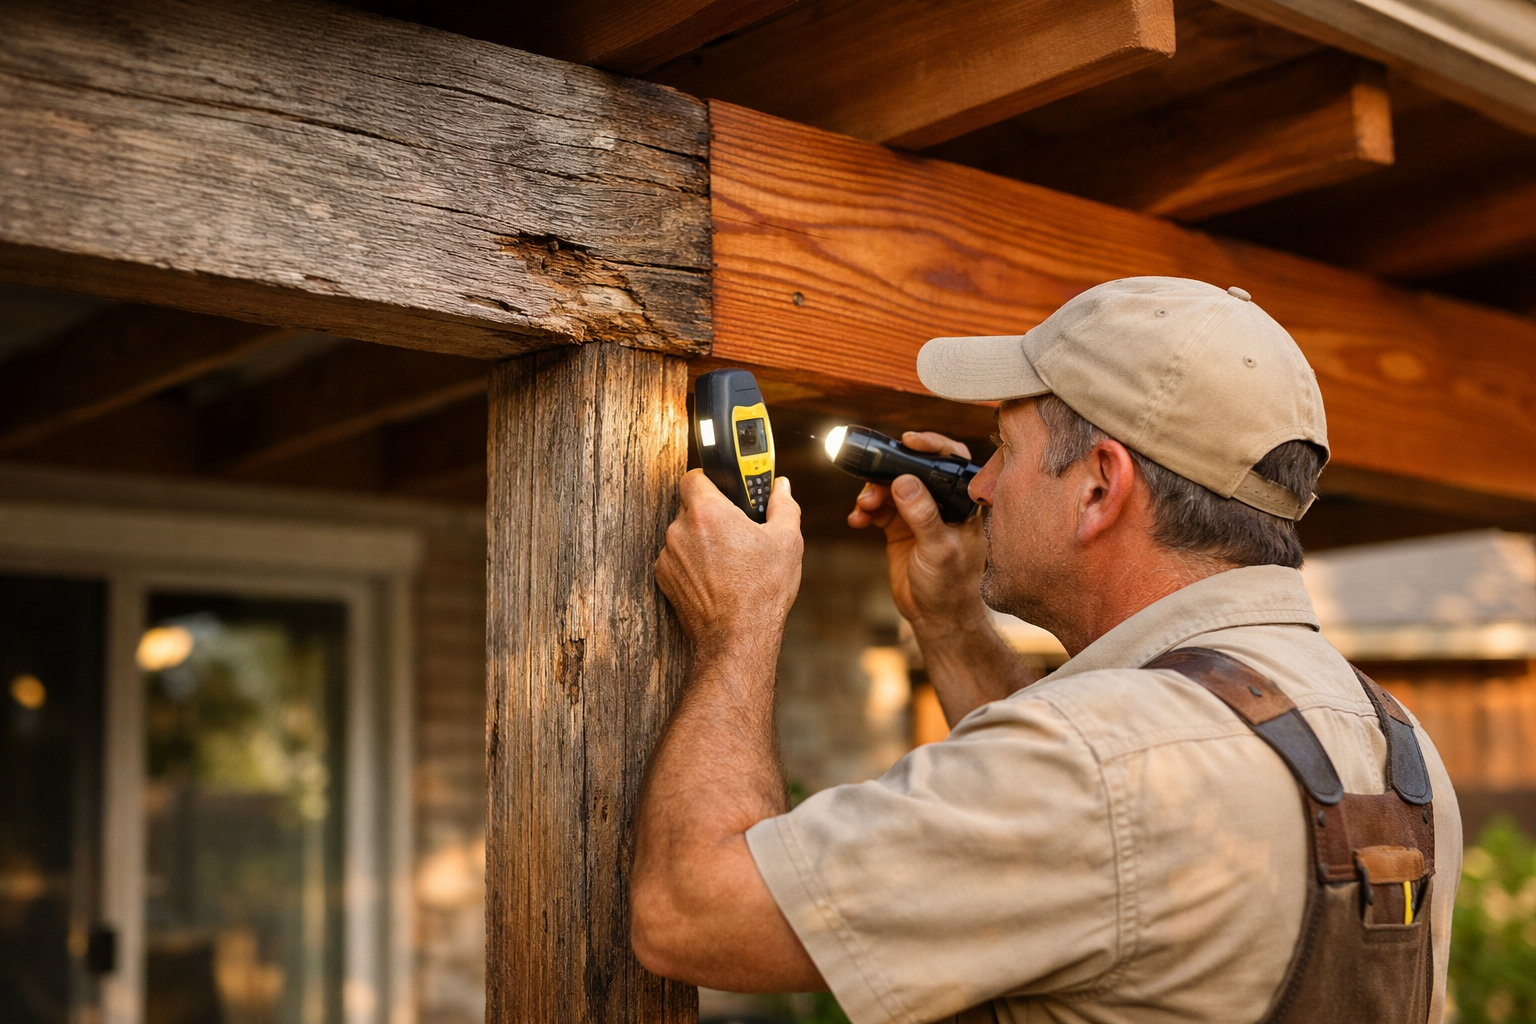
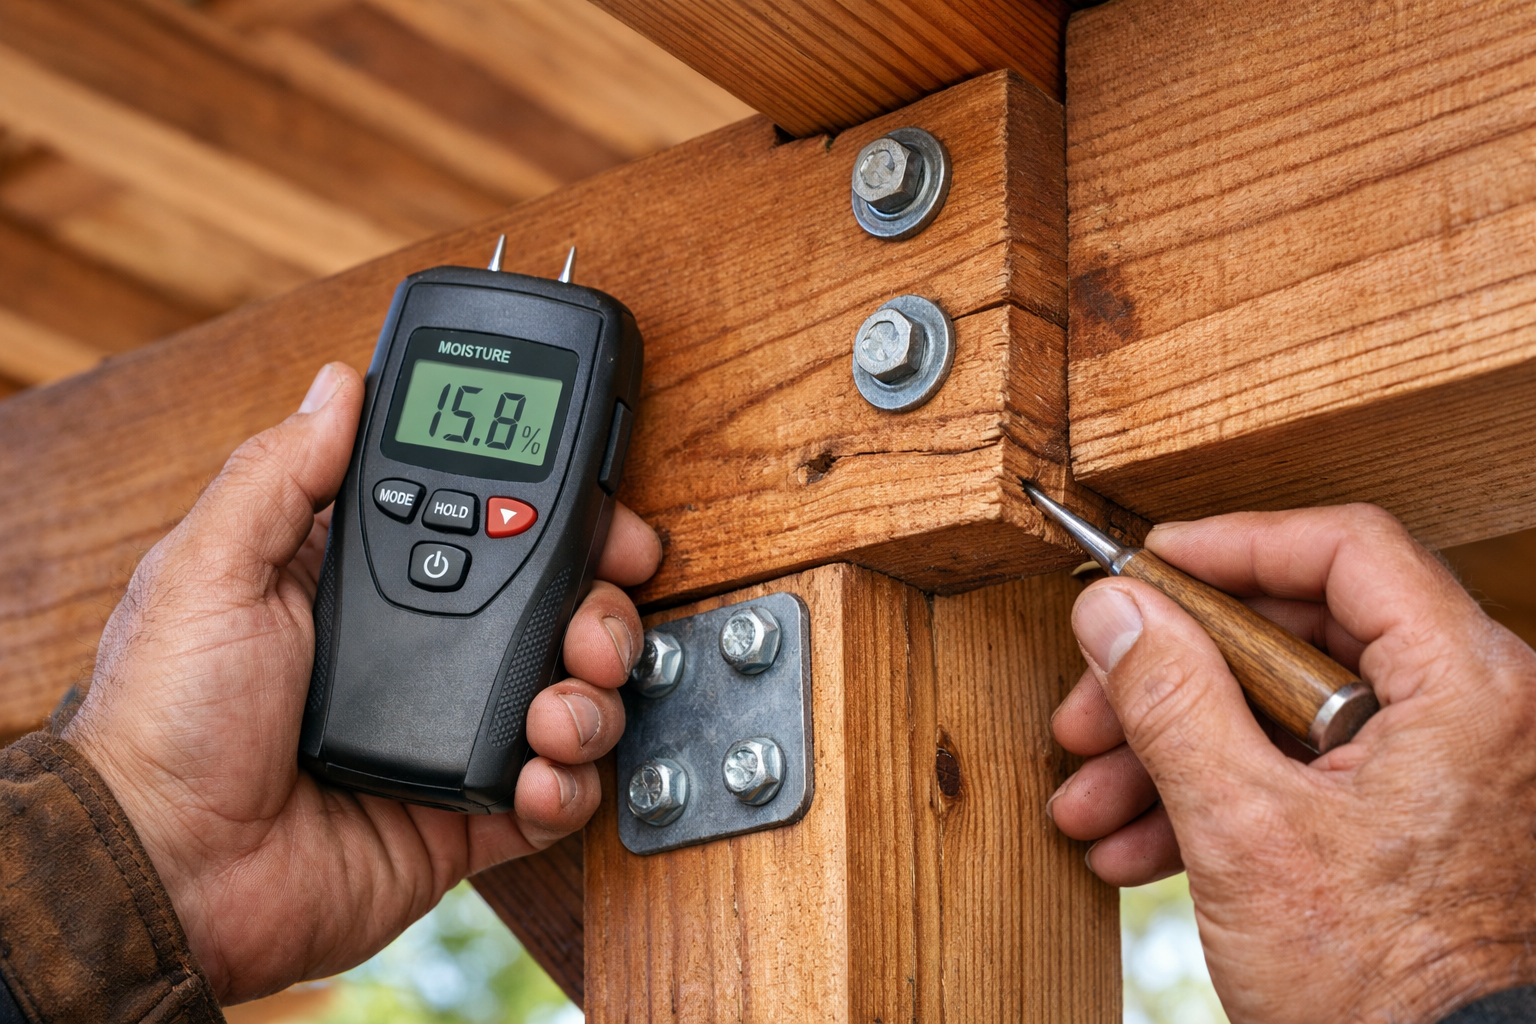
Rot probing at high-risk zones
Technicians probe for rot at the most vulnerable areas, including post bases, beam ends, ledger connections, and around roof penetrations and fasteners. This isn’t about poking holes everywhere—it’s targeted testing where moisture typically enters or gets trapped.
Leak tracing: finding the entry point, not just the stain
Leak tracing identifies the actual entry point (flashing, roofing, joints, gutters) so patio cover leak repair solves the cause—not just the stain. In many cases, what homeowners see first is:
- Water staining on a beam face
- Darkening around a bolt or bracket
- Bubbling finish or “fuzzy” raised grain
- Drips that only appear in wind-driven storms
These clues help narrow whether the problem is at the roof tie-in, the top-side roofing system, gutters, or a recurring overflow point.
Surface condition: restoration candidate or replacement candidate?
Surface condition is evaluated for peeling stain, sun bleaching, and raised grain to determine whether cedar cover restoration is feasible or replacement is smarter. If most members are structurally sound and damage is cosmetic, restoration can make the structure look new again. If multiple elements are compromised, you may be better served by replacement.
A scope you can understand
A written scope should clearly separate cosmetic restoration from structural patio cover repair so you know what is being reinforced, replaced, or re-built. If you’re comparing bids, clarity matters as much as price—especially when hidden rot or leak pathways are involved. For a broader view on choosing the right team, reference How To Choose a Patio Cover Contractor.
Inspection shortcut
If a contractor can’t clearly explain (1) where water is entering, (2) how it will be stopped, and (3) what wood will be reinforced or replaced, you don’t yet have a real repair plan.
Rotten Cedar Beam Repair vs. Beam Replacement
Beams are the backbone of many patio covers. When homeowners search “rotten cedar beam repair methods,” they’re often hoping for a simple patch. Sometimes that’s possible—but only if the remaining wood still has real structural capacity.
When rotten cedar beam repair can work
Rotten cedar beam repair may be possible when decay is localized and the remaining wood is structurally sound, often combined with reinforcement and protective detailing. A repair approach might include:
- Removing decayed material back to solid wood (not just surface sanding)
- Rebuilding the section with compatible lumber or engineered reinforcement, depending on design
- Adding hardware (e.g., brackets, bolts, straps) to restore load paths
- Improving water management so the repair stays dry
When replacement is the smarter and safer choice
If rot extends deep, spans long sections, or affects key load paths, replacement is typically safer and more cost-effective than patching. Warning signs that usually push a beam into the replacement category include:
- Deep decay at connections (ledger/beam ends/post caps), where loads concentrate
- Multiple rot pockets along the beam length (not just one area)
- Visible sagging or ongoing movement at joints
- Prior “band-aid repairs” that didn’t address the water source
Fix the water first—or the new wood becomes the next problem
Proper repairs address water sources first—such as failing flashing or drainage—so new or repaired lumber does not immediately deteriorate again. This is where the tie-in details matter most: if water is entering behind a ledger or along a flashing joint, no amount of pretty staining will stop the cycle.
Rule of thumb: If the beam is compromised where it connects (to posts, ledger, or major rafters), plan for a more comprehensive structural fix—because that’s where strength matters most.
A professional plan includes safety and sequencing
A quality repair plan specifies lumber grade, fastening methods, and any temporary shoring needed to keep the patio cover stable during work. Shoring and sequencing are especially important because removing or modifying a beam can change loads instantly.
Finish work isn’t “optional” for cedar longevity
Finishing steps—sanding, staining, and sealing—are part of cedar cover restoration and help the repaired beam blend with existing members. More importantly, the right finish system reduces moisture absorption and UV damage so your investment lasts.
If you’re weighing repair investment against a full upgrade, the ROI perspective can help: What Are Patio Covers Worth? Cost vs Value, ROI, and Benefits for Homeowners.
Cedar Post Replacement: Fixing Soft Bases and Stability Issues
Posts often fail from the bottom up. The top can look fine while the base is quietly deteriorating—especially if the post sits directly on concrete that stays wet after rain or irrigation.
Why post bases rot (even when everything else looks solid)
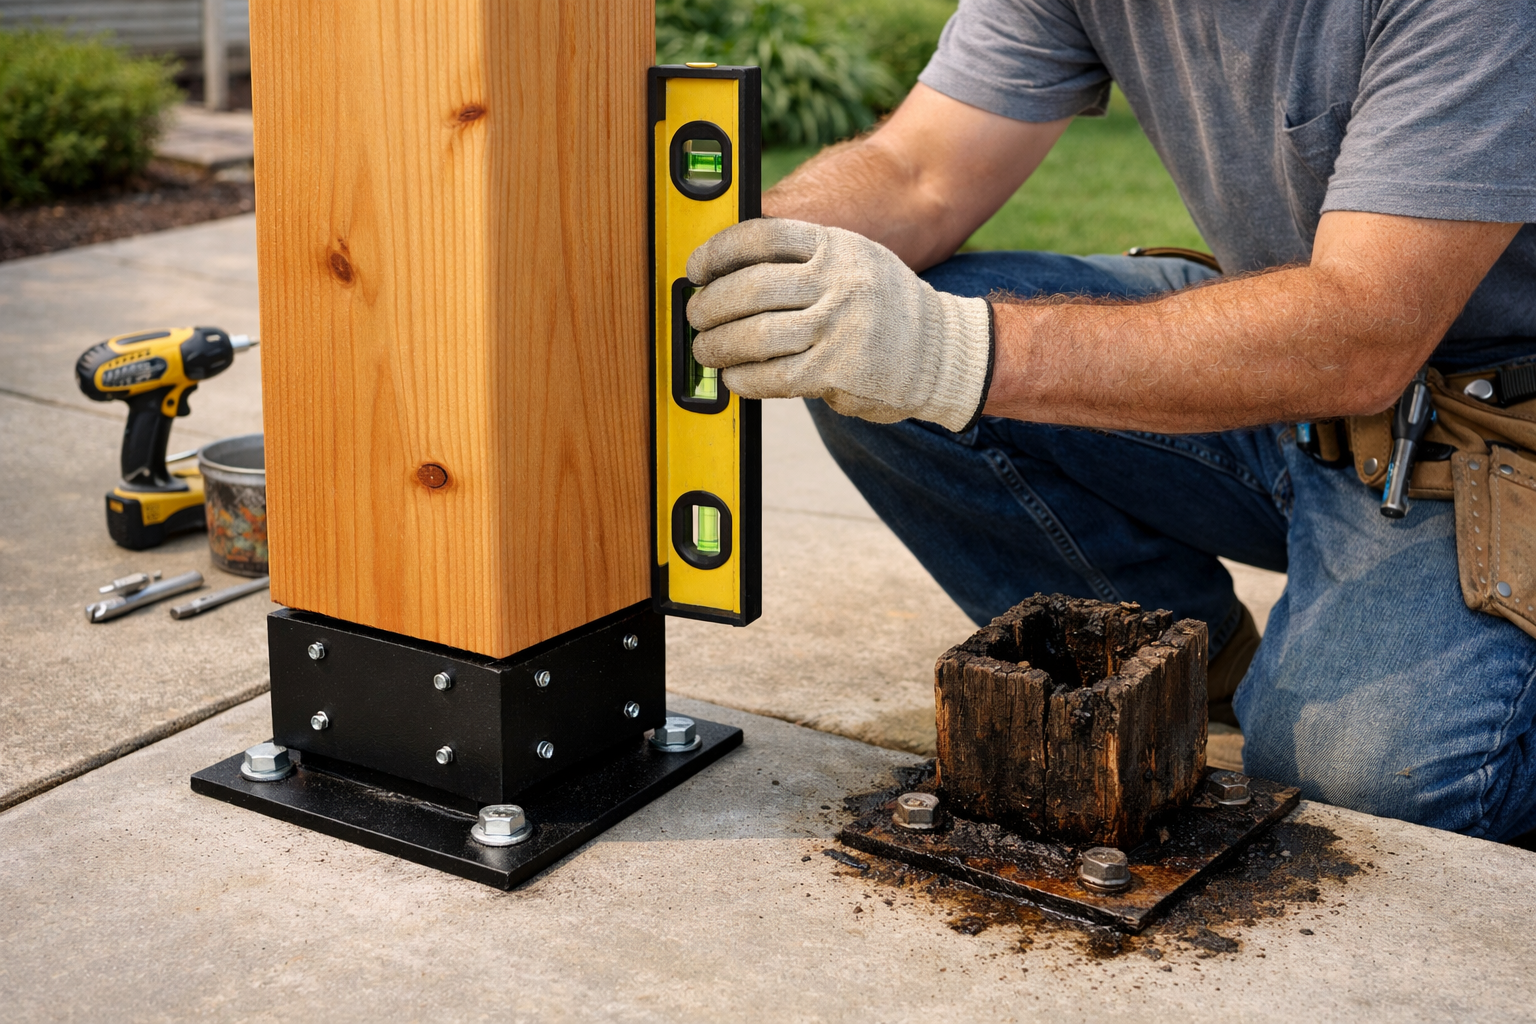
Cedar post replacement is common when post bases wick water from the slab or soil, leading to rot at the bottom few inches that compromises stability. That short section is critical: it’s where compressive loads travel into the slab/footing and where lateral forces (wind) are resisted.
Better details: keep wood out of standing water
Modern solutions often include proper stand-off post bases or improved drainage details to keep wood out of constant moisture contact. When the post is lifted off the slab and allowed to dry, service life improves dramatically. In many cases, this upgrade alone prevents a repeat failure.
Stability: level rooflines and correct load transfer
During replacement, crews verify load transfer from beam to post to footing, ensuring the patio cover remains level and securely supported. If a post is replaced without addressing a settling footing or a sagging beam, the new post may end up carrying loads unevenly.
Matching the look while upgrading the structure
Matching post dimensions and profiles maintains aesthetics, while upgraded hardware improves long-term performance in outdoor conditions. A well-executed post replacement should look intentional—like the cover was built that way from day one.
Protect the investment with a finish cycle
After replacement, finishing with exterior stain and sealant helps protect against UV exposure and future moisture intrusion. Even the best hardware won’t prevent surface erosion if the cedar is left unprotected year after year.
Quick stability check you can do
If a post base is dark, spongy, or flakes when lightly scraped—or if the post no longer feels firmly anchored—schedule an inspection. A small base repair can prevent a larger structural rebuild.
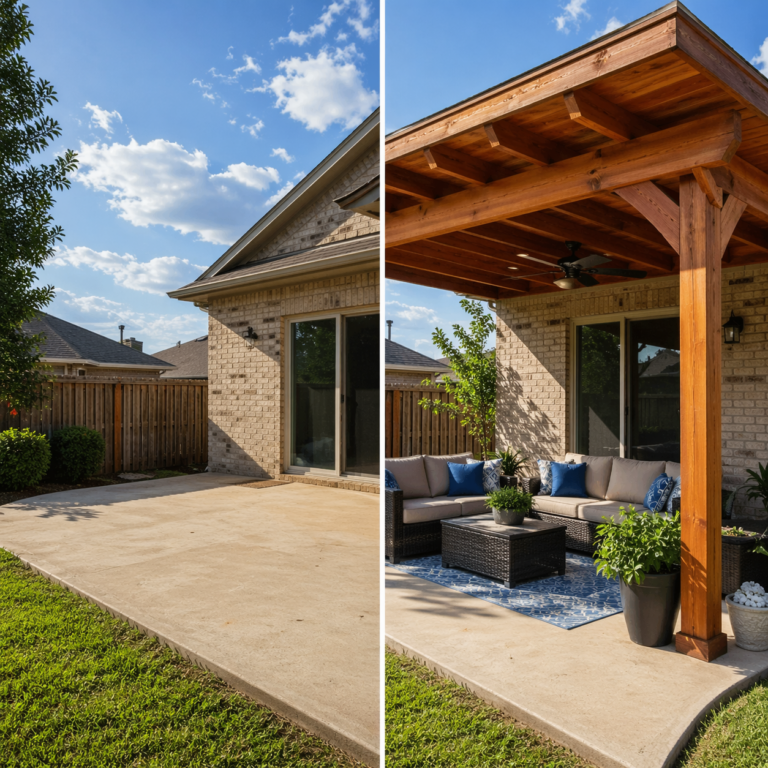
Patio Cover Replacement: When a Full Rebuild Makes More Sense
Sometimes the most cost-effective solution isn’t another round of repairs—it’s rebuilding the structure with updated details so you’re not chasing problems every storm season.
Signs replacement is the right call
Patio cover replacement is usually the best option when multiple members show rot, the roof tie-in is failing, or prior repairs have layered problems over time. The tipping point often looks like:
- Recurring leaks even after sealant “touch-ups”
- Rot in several rafters/posts/beams at once
- Undersized framing or improper spans that sag
- Widespread finish failure with moisture intrusion
Replacement lets you fix the root causes
A replacement allows upgrades such as improved slope and drainage, stronger connectors, and better flashing details to prevent recurring leaks. This is where you stop the cycle: better water shedding, better ventilation/drying, and stronger connections.
It’s also an opportunity to update the design
Homeowners can modernize the look with updated beam sizes, decorative end cuts, or a refreshed stain color while keeping the warmth of cedar. If you’re considering a design refresh, you may find helpful ideas in Custom Cedar Patio Cover Designs: Styles, Costs, and Planning Tips for a Beautiful Backyard.
Correct structure to modern expectations
If the structure is undersized for current standards, replacement provides the opportunity to correct spans and support spacing for long-term safety. That matters not only for durability, but also for how the cover performs under wind loads and heavy rain events.
What a clear proposal should include
A clear proposal should outline demolition, disposal, rebuilding scope, finish work, and timeline so there are no surprises. Ask specifically how the contractor will handle:
- Protection of the home at the tie-in during demolition
- Flashing and waterproofing details at the ledger/roof connection
- Hardware type (exterior-rated) and fastener specifications
- Finish system and expected maintenance interval
If you want an overview of what to expect from a specialist, read Cedar Patio Cover Contractor: What to Expect, Costs, and Why Corinth Patio Covers Is a Trusted Choice.
Patio Cover Maintenance Tips to Extend Cedar Life
The most affordable repair is the one you never need. A simple annual routine—plus a consistent finish schedule—goes a long way toward preventing rot, leaks, and structural movement.
Clean regularly (and gently)
Schedule routine cleaning to remove mildew, pollen, and debris that hold moisture against the wood and accelerate breakdown. Use methods appropriate for cedar—aggressive pressure washing can fur up the grain and make the surface absorb water faster.
Re-stain and seal on a consistent cycle
Re-stain and seal on a consistent cycle based on sun exposure, using products rated for exterior cedar and the local climate. South- and west-facing covers often need attention sooner due to UV intensity. When in doubt, look for these cues:
- Water no longer beads on the surface
- Color fades unevenly or turns gray quickly
- Finish looks patchy, dry, or chalky
Manage roof run-off and gutters
Keep gutters and downspouts clear, and ensure roof run-off is directed away from posts and beams to reduce rot risk. Many “mystery rot” cases are actually predictable overflow points—especially during heavy Texas downpours when gutters back up.
Do a yearly inspection (10 minutes can save thousands)
Inspect annually for early signs of leaks, loose fasteners, and soft wood so small issues are addressed before structural patio cover repair is needed. Focus on:
- Post bottoms and any place wood meets concrete
- Ledger/house tie-in and flashing seams
- Fasteners and brackets (rust, movement, gaps)
- Beam faces under the roof plane (staining or softness)
Keep airflow around the structure
Trim back vegetation to improve airflow and reduce constant shade and dampness around the patio cover. If you’re planning a broader backyard upgrade, shade structures pair well with outdoor living projects like Outdoor Kitchens in Denton TX for Real Backyard Living.
Maintenance reality: Cedar lasts longer when it can dry quickly. Most smart maintenance choices are really “drying strategies” in disguise—better drainage, better airflow, better surface protection.
Conclusion: Choose the Right Fix—and Protect It
Cedar patio covers can look timeless and perform beautifully, but they need the right repair approach when problems show up. Start with a proper inspection that evaluates structure, moisture pathways, and connection details. From there:
- Use targeted cedar patio cover repair when damage is localized and the structure is sound.
- Choose beam or cedar post replacement when key load paths or bases are compromised.
- Opt for patio cover replacement when rot and leaks are widespread or the tie-in details are fundamentally failing.
- Protect your investment with consistent patio cover maintenance—especially cleaning, finish cycles, and drainage management.
Get an Estimate from Corinth Patio Covers
Need cedar patio cover repair, leak repair, or a full patio cover replacement? Call 972-318-9663 or request your estimate online to get a clear plan and pricing.
If you’re exploring cedar options across the area, you can also compare local considerations in Cedar Patio Covers Argyle TX for Shade, Style, and Daily Comfort.